Reference
How to share a circuit
The publish action is the preferred way to share a circuit diagram in Circuit Designer. To share, please follow the steps in how to publish a circuit diagram for more details.
How to set rails for Gates and Controls
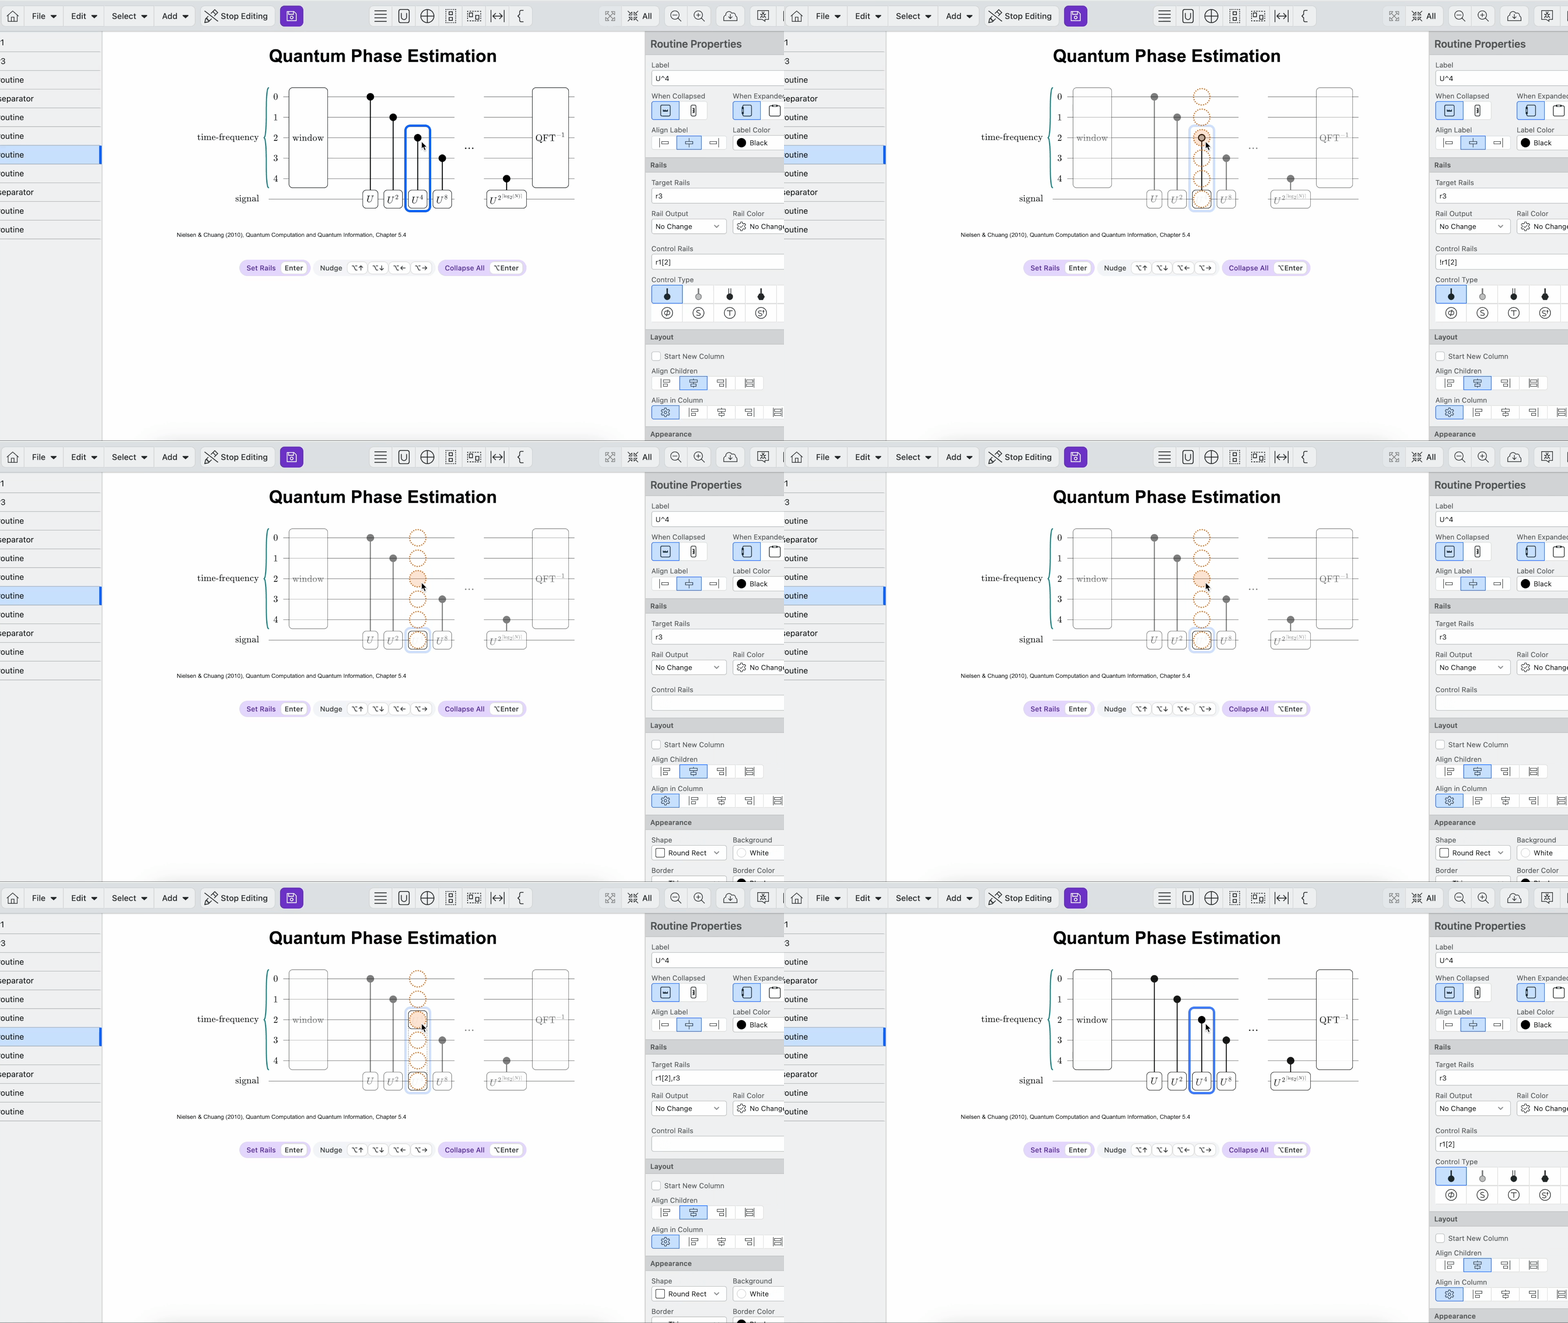
To select the rails an element (Gate, Routine, etc.) and its controls is on, first click the circuit element, then hold enter to open the Set Rail menu. In this menu, click inside the dashed circles to cycle through the available options (which vary by element type).
For example, Gates cycle between:
- Adding another of the chosen circuit element (e.g., If you have an X gate, clicking an empty rail will add another X gate on that rail)
- Adding a control
- Adding a falsy control
If the selected element is inside a Routine, the Routine will automatically expand or contract to fit its children as you make changes.
Nudge
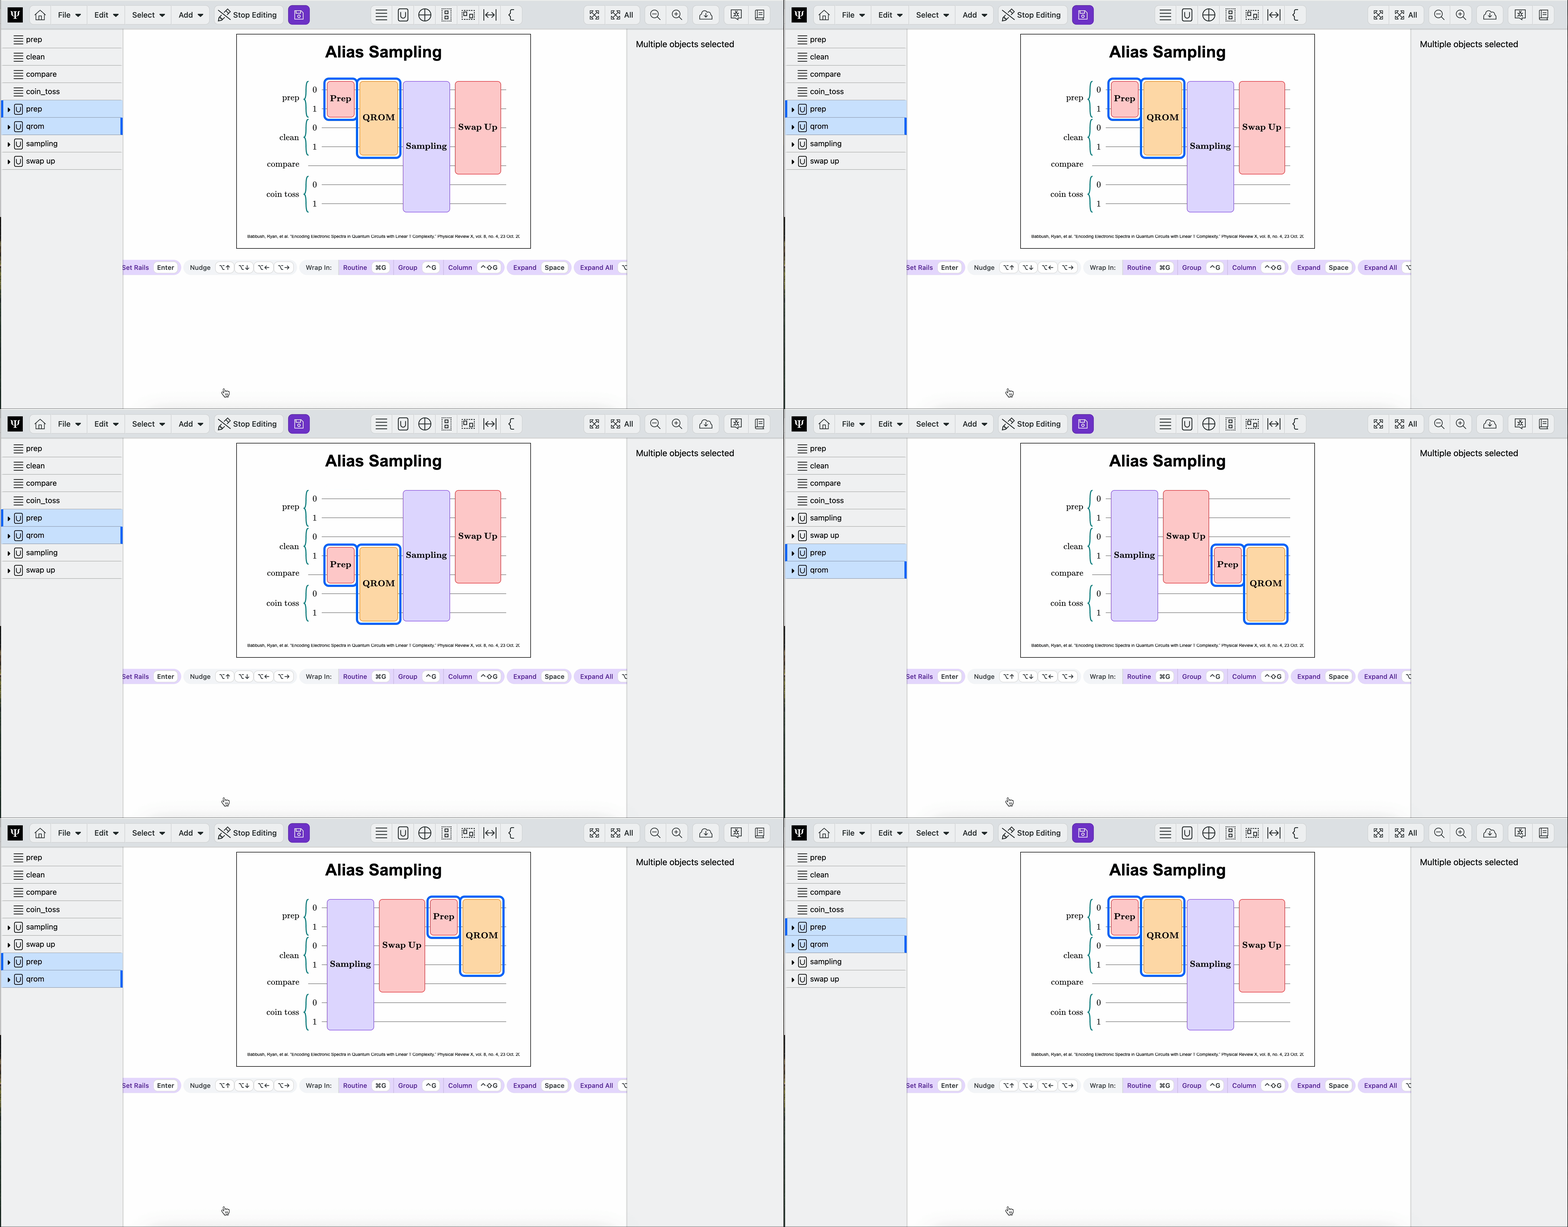
Nudging lets you move cirucit elements up, down, left, or right one space. Click ⌥ + arrow (alt + arrow on Windows) to nudge the element. Nudging works for any selected cirucit elements. Note that you cannot nudge circuit elements inside or outside of routines, groups, or columns. To get elements into grouping structures, either drag and drop them, or use the Wrap in commands.
Addressing Rails
Rails can be addressed specifically by labeling them within brackets. For example, if you only want to apply the Hadamard gate to rails 1 and 2 of register a, you can enter a[1,2] into the Rail Names field. You can specifying multiple rails separated with a comma, e.g. a[0],a[3], or with pythonic range syntax: a[0:3].

Circuit Styling
There are many ways to style different circuit elements. The image below shows a sample of the different ways you can customize gates and routines in your circuit.

Keyboard Shortcuts
Circuit
| Action | iOS | Windows |
|---|---|---|
| Create New | ⌘N | ctrl + N |
| Save Circuit | ⌘S | ctrl + E |
| Save Circuit as | ⌘⇧S | ctrl + shift + S |
Edit
| Action | iOS | Windows |
|---|---|---|
| Start/Stop Editing | ⌘E | ctrl + E |
| Undo | ⌘Z | ctrl + Z |
| Redo | ⌘⇧Z | ctrl + shift + Z |
| Duplicate | ⌘D | ctrl + D |
| Cut | ⌘X | ctrl + X |
| Copy | ⌘C | ctrl + C |
| Paste | ⌘V | ctrl + V |
| Paste After | ⌘⇧V | ctrl + shift + V |
| Delete | ⌫ | backspace |
| Zoom Out | ⌘- | ctrl + - |
| Zoom In | ⌘+ | ctrl + + |
| Zoom to 100% | ⌘0 | ctrl + 0 |
Select
| Action | iOS | Windows |
|---|---|---|
| Expand/Collapse | space | space |
| Select Previous | ← | ← |
| Select Next | → | → |
| Select Up | ↑ | ↑ |
| Select Down | ↓ | ↓ |
| Select Parent | ⌘↑ | ctrl + ↑ |
| Select Child | ⌘↓ | ctrl + ↓ |
| Select First | home | home |
| Nudge Left | ⌥← | alt + ← |
| Nudge Right | ⌥→ | alt + → |
| Nudge Up | ⌥↑ | alt + ↑ |
| Nudge Down | ⌥↓ | alt + ↓ |
Add
| Action | iOS | Windows |
|---|---|---|
| Add Register | ⌘1 | ctrl + 1 |
| Add Routine | ⌘2 | ctrl + 2 |
| Add Gate | ⌘3 | ctrl + 3 |
| Add Column | ⌘4 | ctrl + 4 |
| Add Group | ⌘5 | ctrl + 5 |
| Add Separator | ⌘6 | ctrl + 6 |
| Add label | ⌘7 | ctrl + 7 |
| Wrap Selection in Group | ⌘G | ctrl + G |
| Wrap Selection in Routine | ⌘⇧G | ctrl + shift + G |
| Add Register within selected | ⌘⌥1 | ctrl + 1 |
| Add Routine within selected | ⌘⌥2 | ctrl + alt + 2 |
| Add Gate within selected | ⌘⌥3 | ctrl + alt + 3 |
| Add Column within selected | ⌘⌥4 | ctrl + alt + 4 |
| Add Group within selected | ⌘⌥5 ctrl + alt + 5 | |
| Add Separator within selected | ⌘⌥6 | ctrl + alt + 6 |
| Add label within selected | ⌘⌥7 | ctrl + alt +7 |
Hold ⌥ (alt on Windows) and click to add within
Hold ⌥ (alt on Windows) and click the add actions to add within a selected circuit element